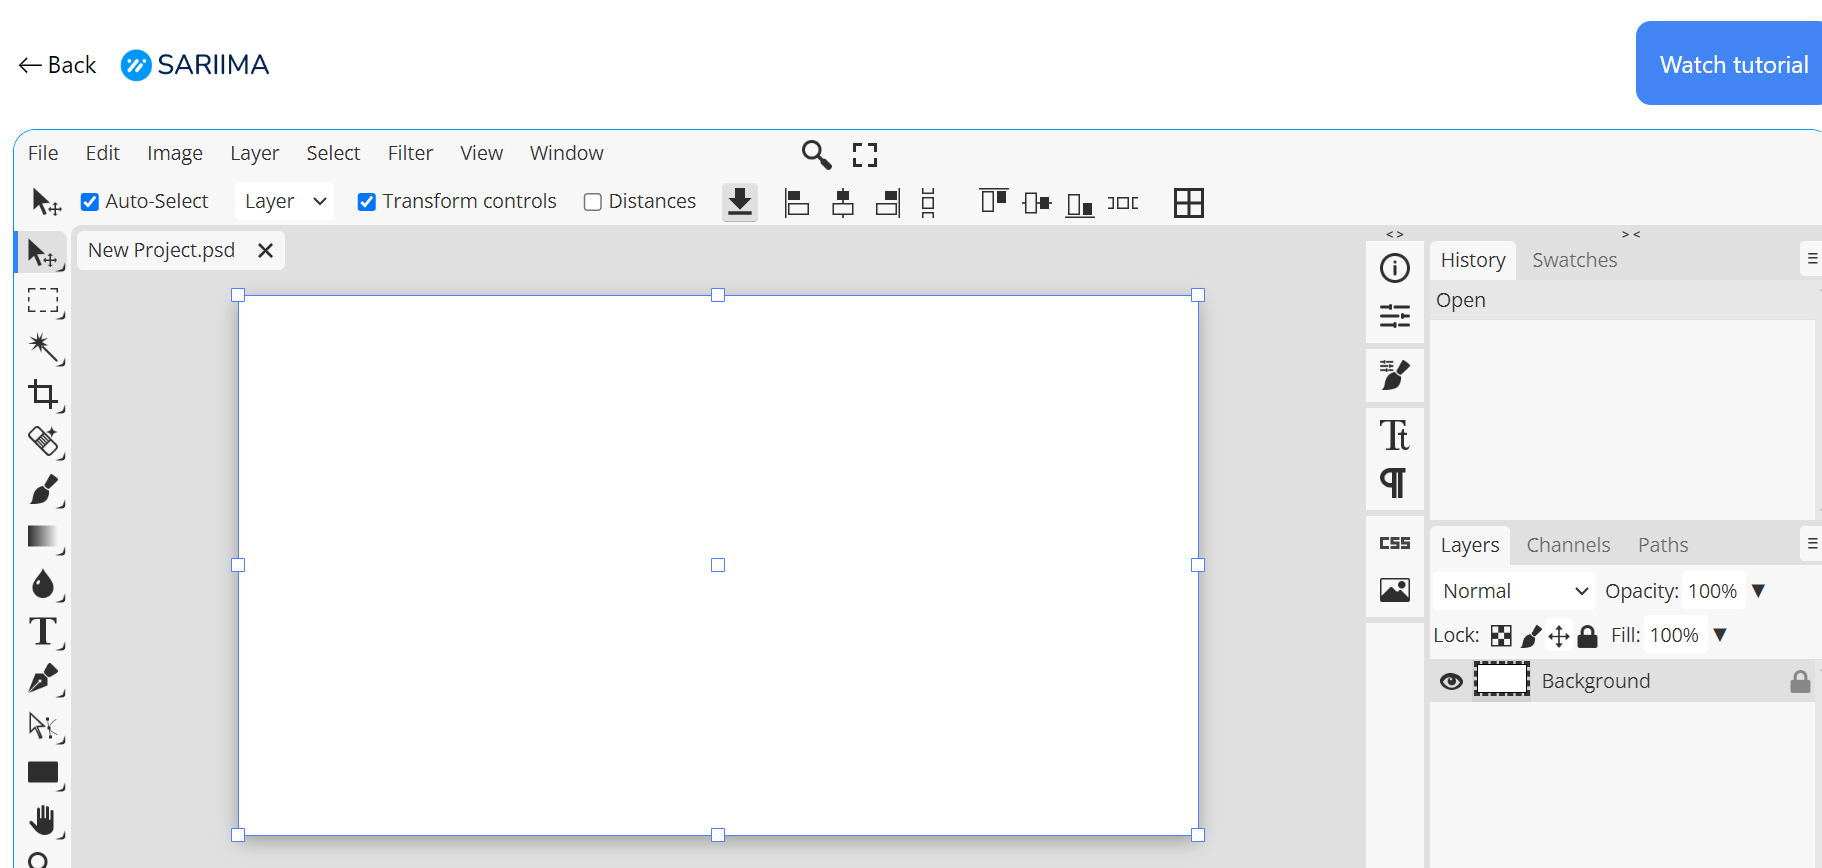
The Sariima design Studio is divided into several parts, each playing a crucial role in your design process. Understanding these components will help you navigate the interface efficiently and make the most of its powerful features. Let’s explore each part, starting from the most essential ones.
1. The Toolbar
The Toolbar is located on the left side of the workspace. It contains a variety of tools that you will use to create and edit your designs. Each tool has a specific function, such as selecting, cropping, drawing, and text editing.
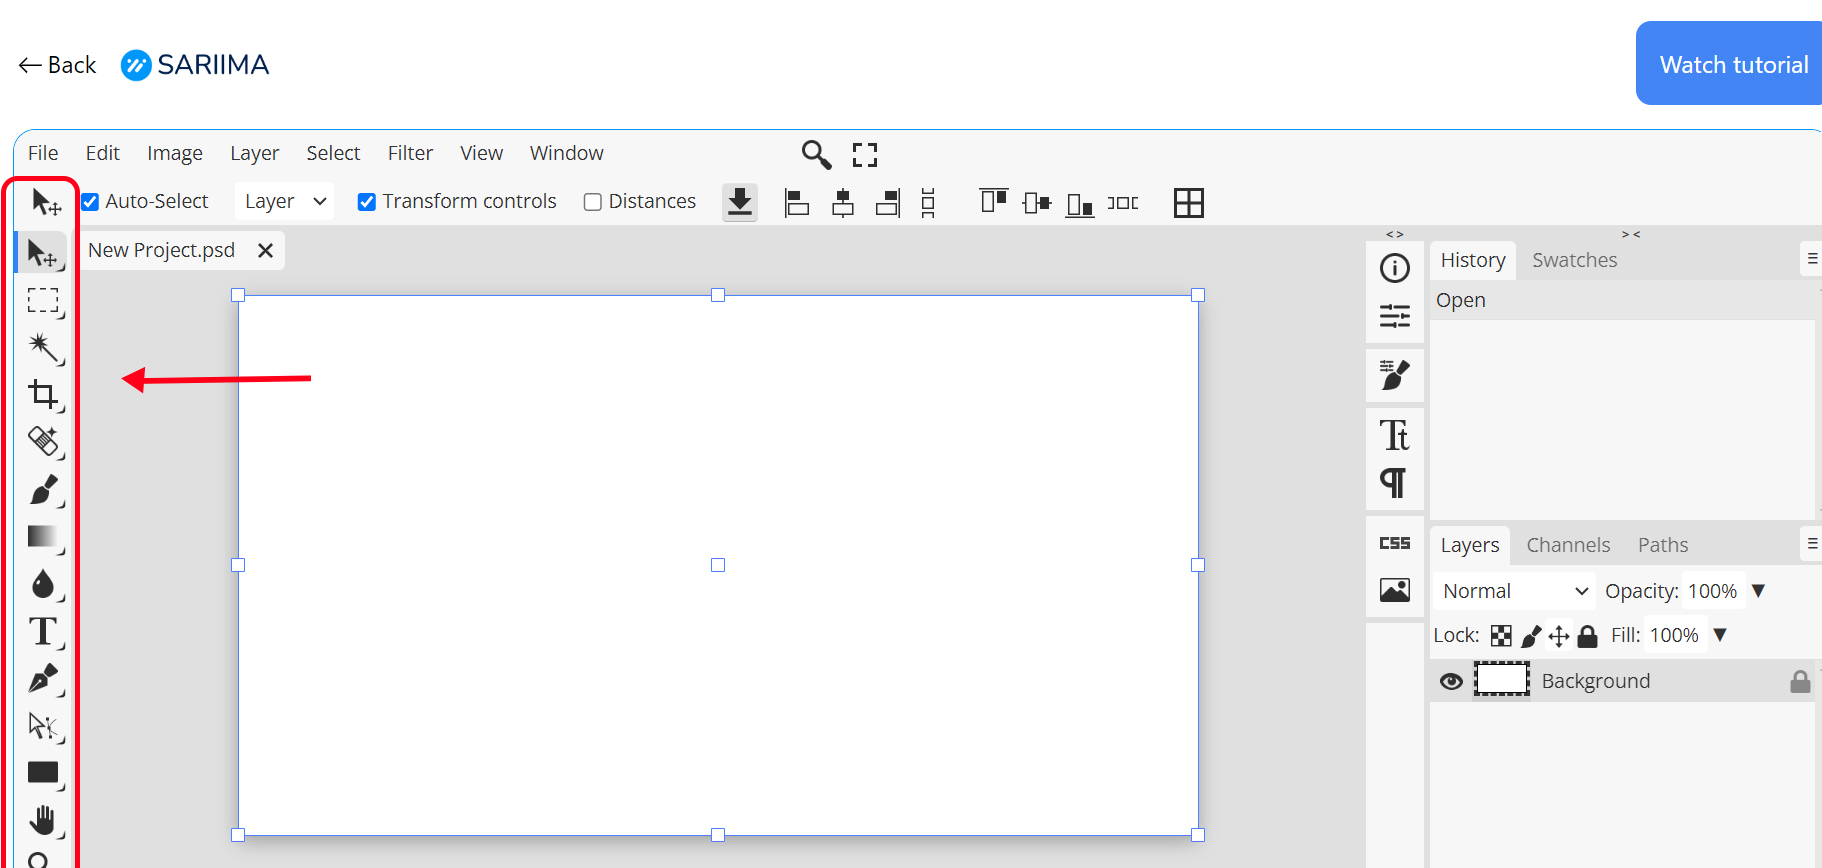
Here are some of the key tools:
- Move Tool: Allows you to move layers and objects within your canvas.
- Selection Tools: Include the Marquee, Lasso, and Magic Wand tools for selecting parts of your design.
- Brush Tool: For drawing and painting on your canvas.
- Text Tool: Enables you to add and edit text layers.
- Eraser Tool: Allows you to erase parts of your design.
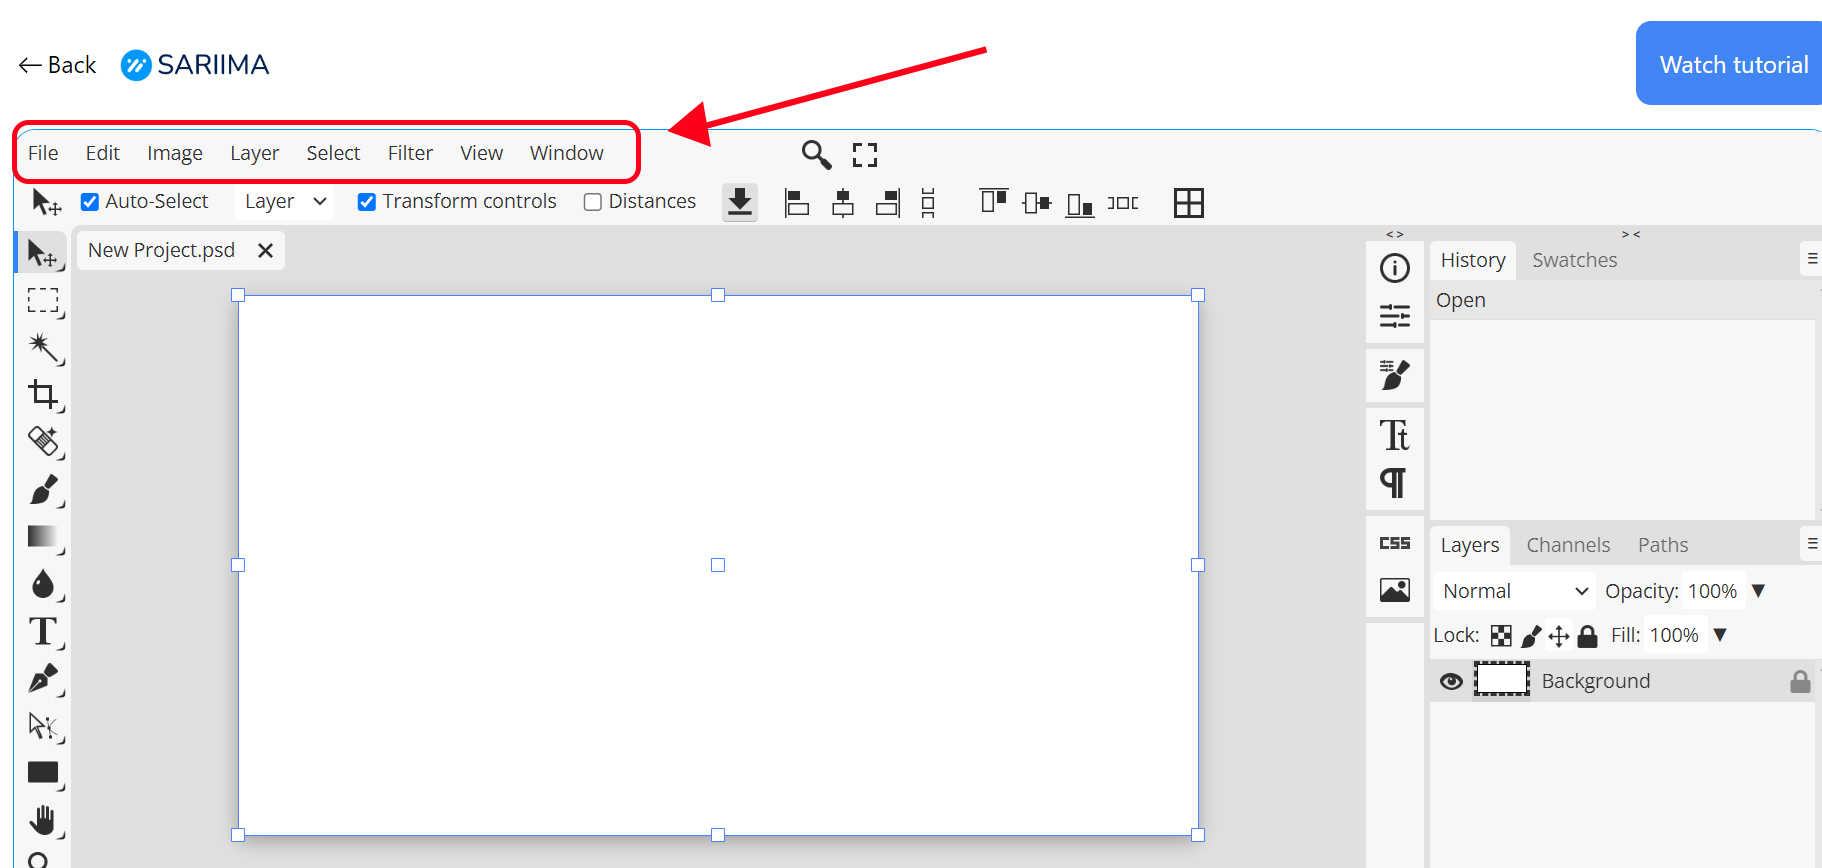
2. The Menu Bar
The Menu Bar is located at the top of the workspace. It provides access to a wide range of functions and settings, organized into menus such as File, Edit, Image, Layer, Select, Filter, View, Window, and Help.
Some important functions include:
- File Menu: For creating, opening, saving, and exporting files.
- Edit Menu: Contains options for undoing actions, copying, pasting, and transforming objects.
- Layer Menu: Allows you to create, duplicate, merge, and organize layers.
- Filter Menu: Provides various effects and adjustments to enhance your design.
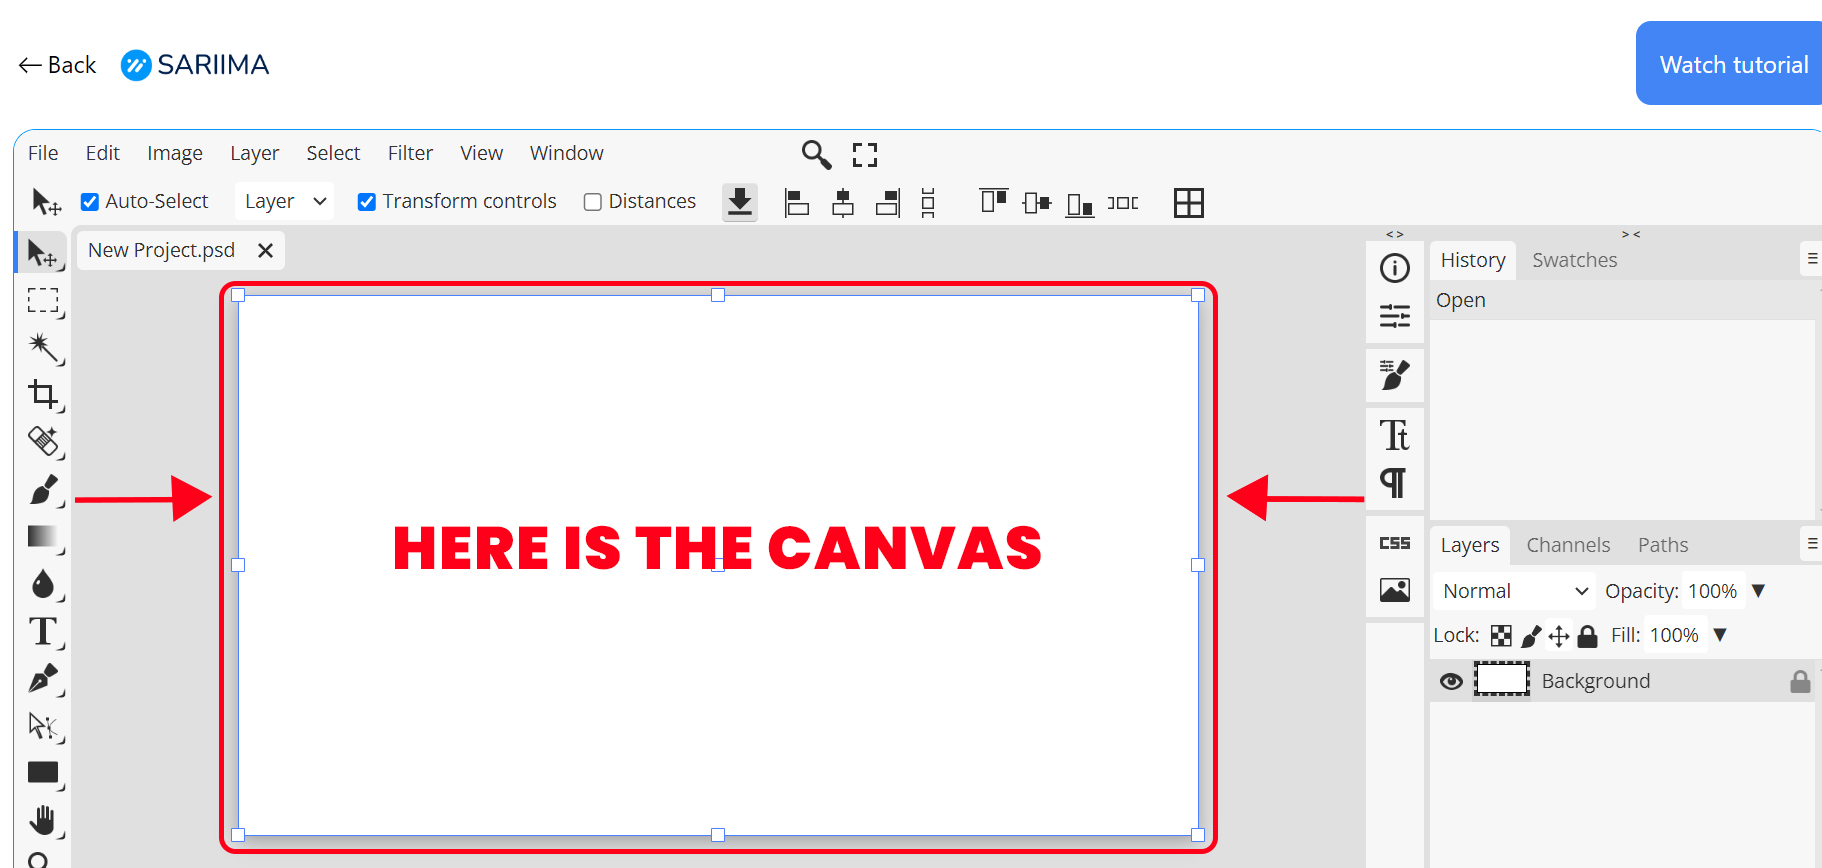
3. The Canvas
The Canvas is the central part of the workspace where your design is displayed and edited. It’s your main working area. You can zoom in and out to see details or get an overview of your design. The canvas can be adjusted in size, background color, and resolution according to your needs.
4. The Layers Panel
The Layers Panel is typically located on the right side of the workspace. It shows all the layers in your project and their order. Layers are fundamental in the Design Studio, allowing you to stack and organize different elements of your design separately.
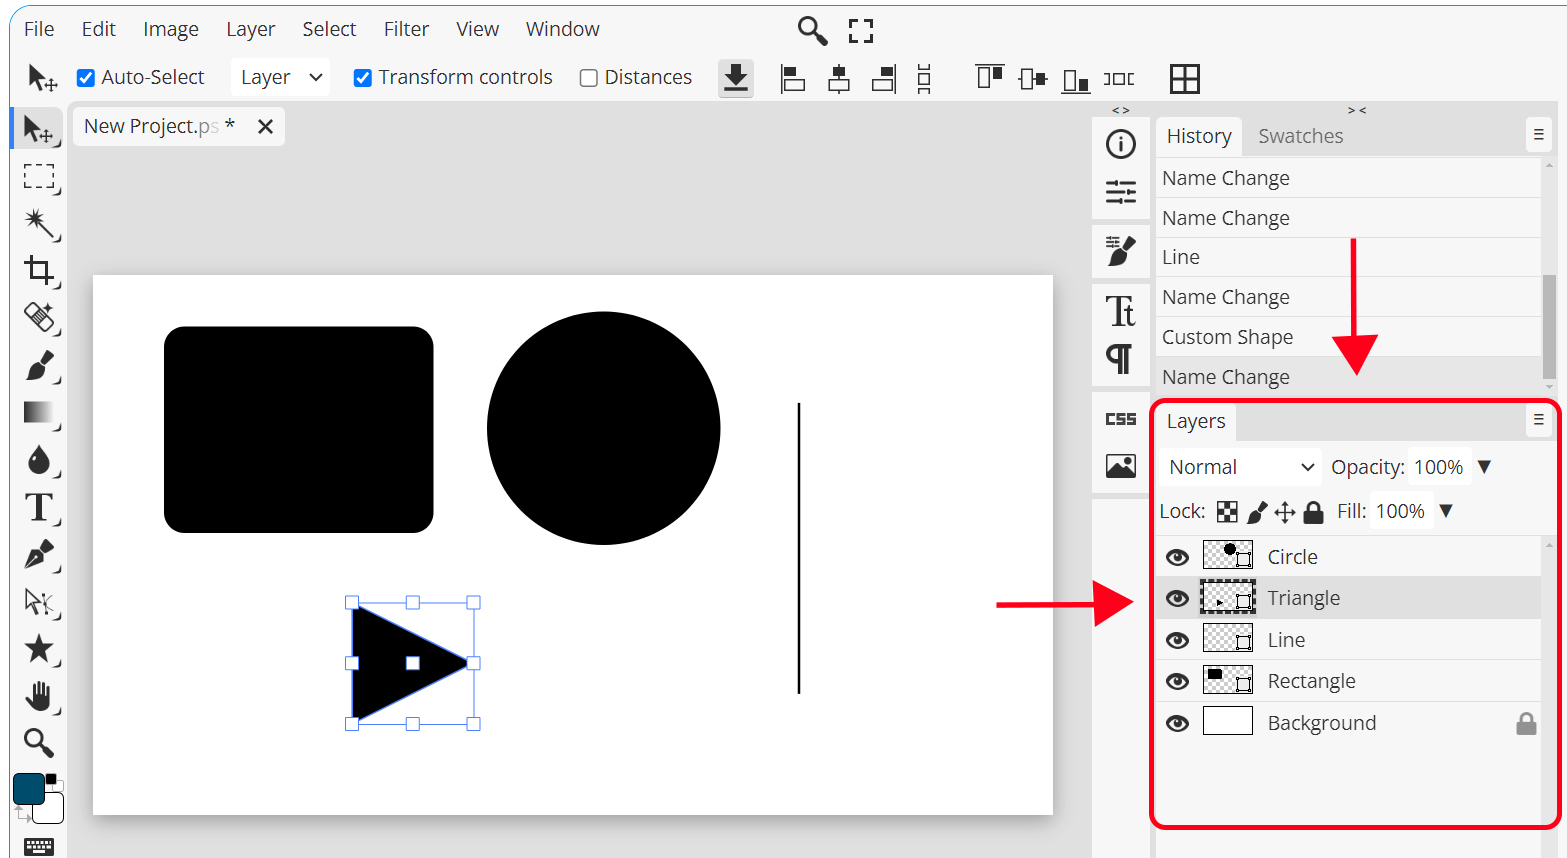
Key features of the Layers Panel include:
- Layer Visibility: Toggle the eye icon to show or hide layers.
- Layer Locking: Lock layers to prevent accidental edits.
- Layer Grouping: Organize layers into groups for better management.
- Blending Modes: Change how layers blend with those beneath them.
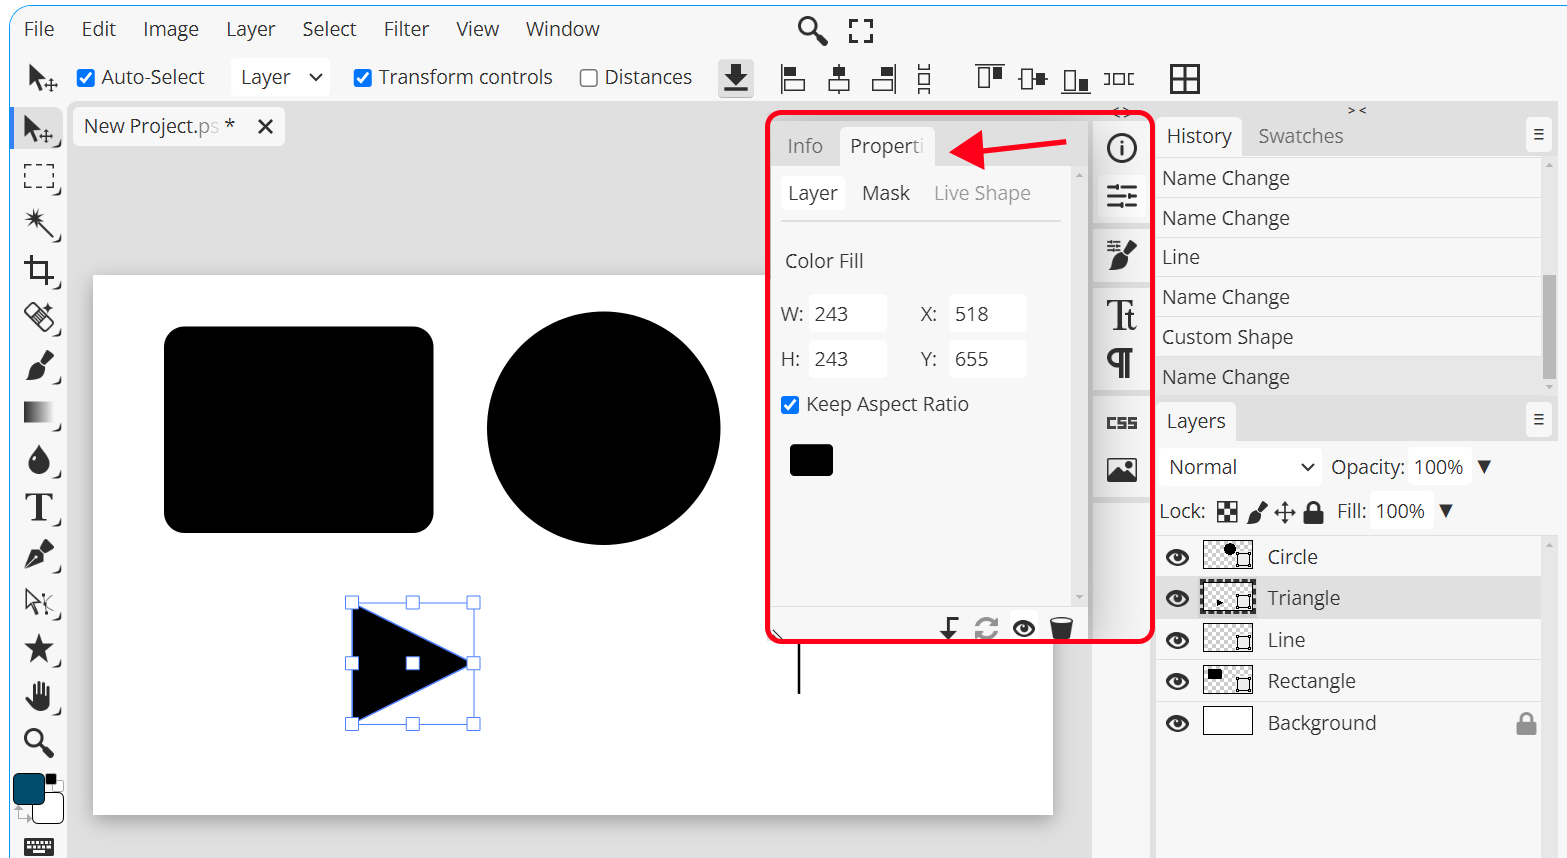
5. The Properties Panel
The Properties Panel is context-sensitive and changes based on the currently selected tool or layer. It provides detailed options and settings for the active tool or layer, such as font settings for the Text Tool or brush size and hardness for the Brush Tool.
6. The Free Stock Image Panel
The Free Stock Image Panel is an invaluable resource for finding high-quality images to enhance your designs. Located on the right side of the workspace, this panel allows you to search and access a vast library of free stock images.
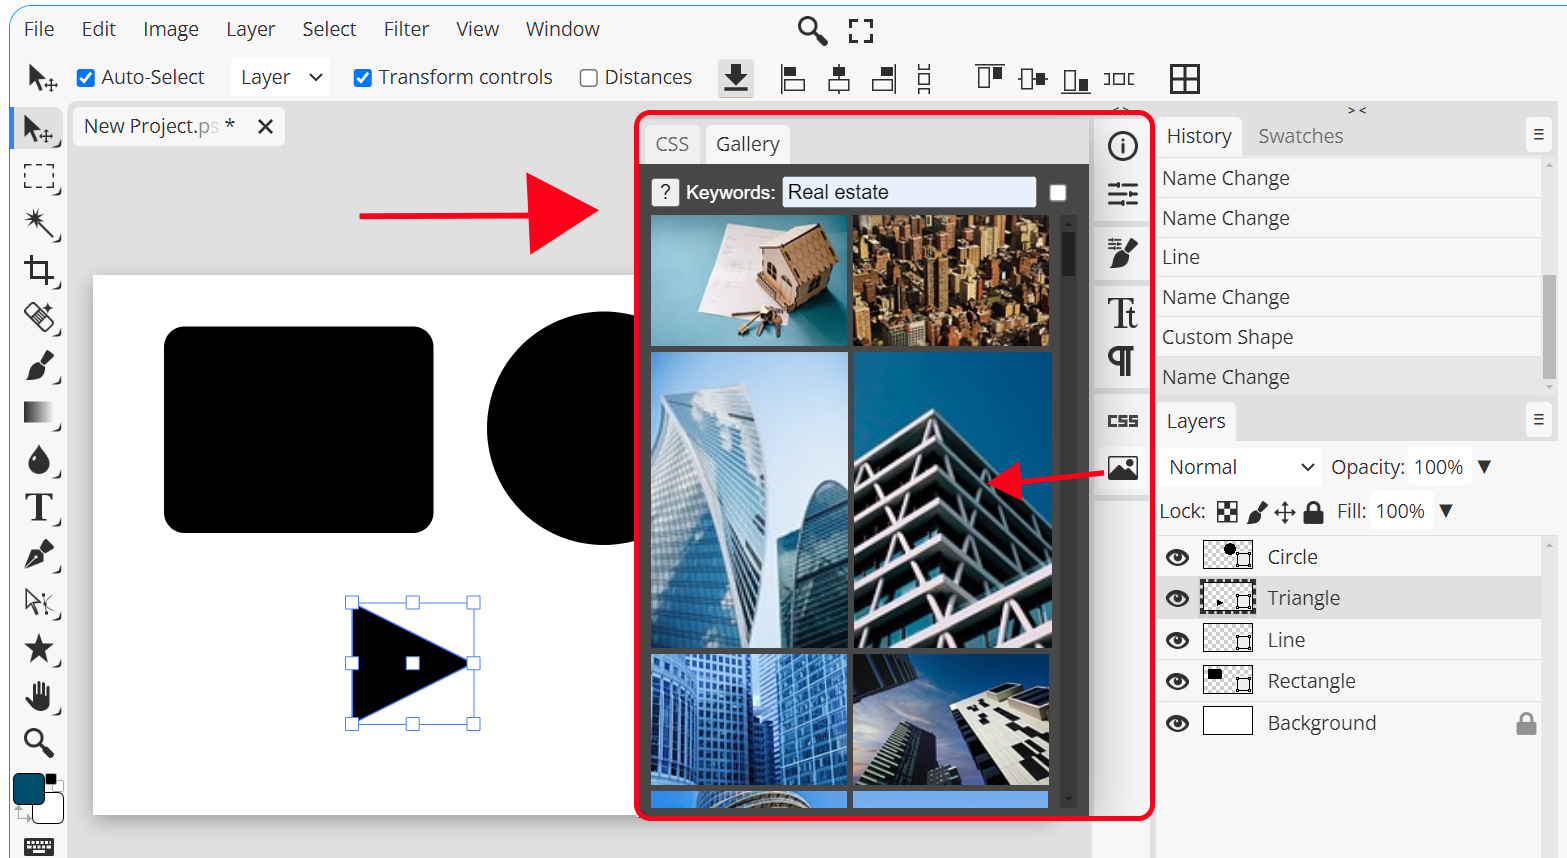
You can:
- Search for Images: Use keywords to find specific images.
- Browse Categories: Explore various categories to find the perfect image for your project.
- Drag and Drop: Easily drag images directly onto your canvas for seamless integration.
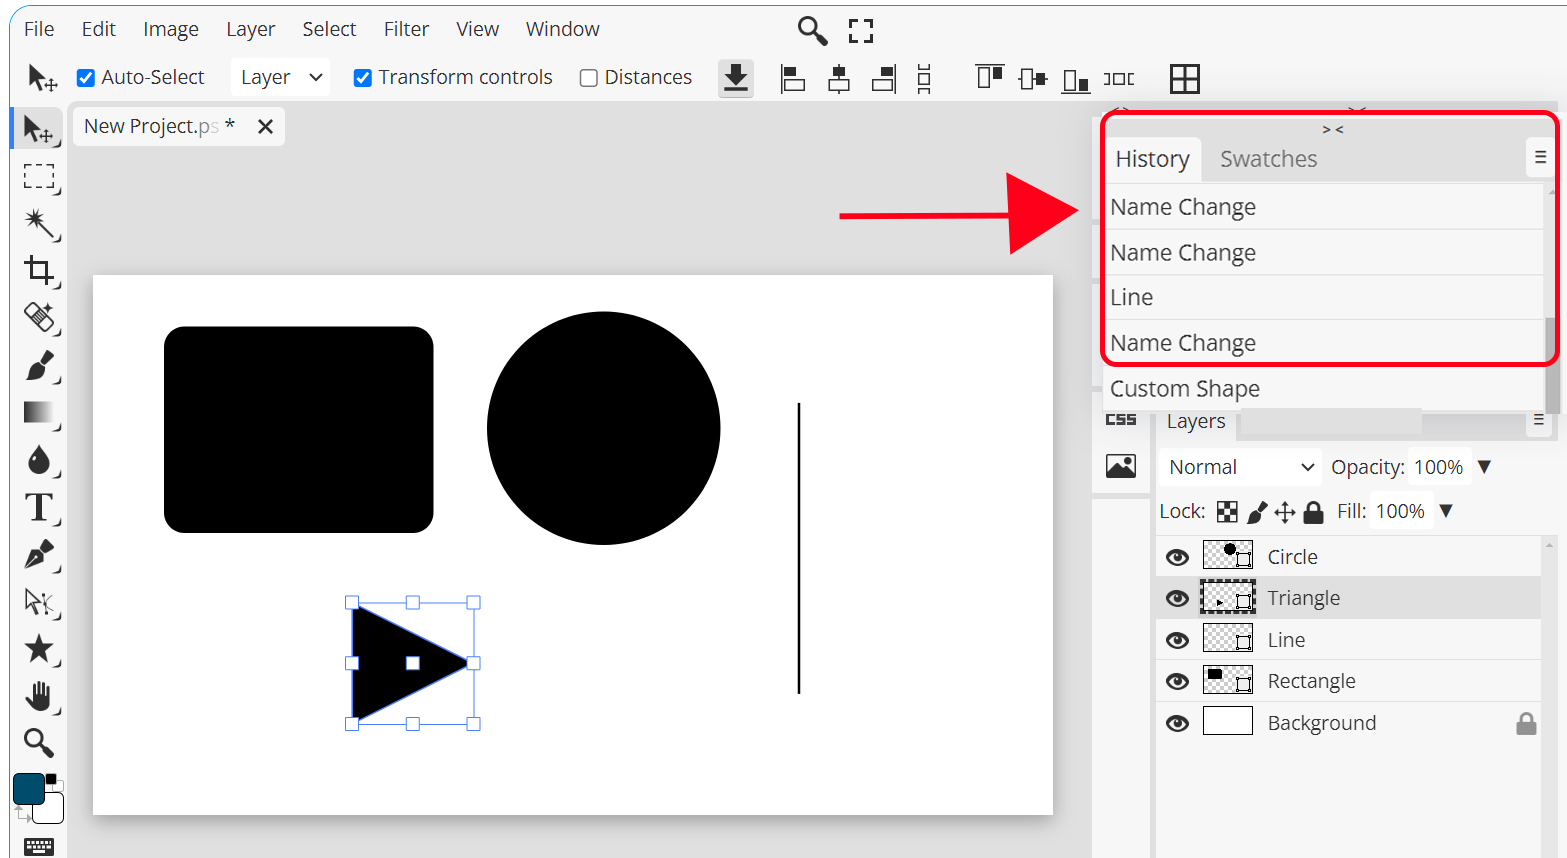
7. The History Panel
The History Panel keeps a record of all the actions you’ve performed on your design. It allows you to undo or redo multiple steps, providing a safety net for your creative process.
Conclusion
Understanding the different parts of the design studio and their functions is essential for efficient design work. By familiarizing yourself with the Toolbar, Menu Bar, Canvas, Layers Panel, Properties Panel, History Panel, and Free Stock Image Panel, you’ll be able to harness the full potential of Sariima and create stunning designs with ease.
Goodbye for now! I’m looking forward to our next tutorial. If you have any questions or need further assistance, feel free to reach out. Have a great day!